February 9, 2022
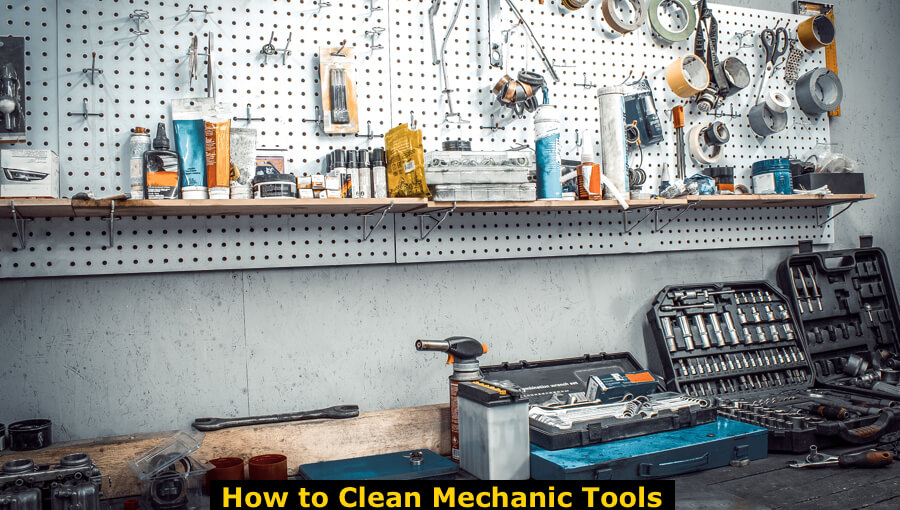
Using high-quality mechanic tools indicates a high level of expertise in mechanics. For anybody who is meticulous about his tools, he knows how to keep his mechanic tools clean. Your tools will be guaranteed to be completely free of grease and dirt.
It’s not difficult to see why you may find yourself needing to clean your tools. Pliers, wrenches, chisels, blades, and other mechanical tools are used in filthy, greasy environments. The way to ensure consistent, optimal performance with your tools is to maintain them squeaky clean and degreased at all times. Take note that certain instruments may need specific cleaning procedures to be followed after use.
What are the proper cleaning methods for eliminating common oil stains and tougher ones like grease and dirt in your mechanical tools? In this article, we’ll walk you through the step-by-step process and provide you with some tips on keeping them clean over time.
Basic Cleaning Methods For Easy Grease and Dirt
Step 1: Gather your cleaning materials and tools
A few cleaning agents will be enough, and you can use economical lubricants to clean your tools. It will be necessary to clean the filth away using some degreaser, a towel, and a brush. To avoid skin irritation, you should wear a mask and plastic gloves when cleaning your tools.
For those who don’t have a degreaser, vinegar is a perfect alternative. Vinegar can wipe off mild corrosion, and it will be much gentler on your skin.
Step 2: Wash the tools with water
To begin, you must adequately wash your tools with water. Water will help remove sand and other debris, making the subsequent cleaning procedure much more straightforward.
Step 3: Use a degreaser to clean the tools.
You should wear your protective gear before using a degreaser to clean your tools. Once you’re prepared, spray your tools with a degreaser and then wipe the grime off.
Step 4: Wipe them down
One of the easiest methods to maintain your tools clean and in excellent condition is to wipe them down with a cloth. After you finish your work, use a cleaning cloth to clean off all the dirt, grease, and oil that may be left on your tools. Grease and other debris left on the tools may cause deterioration. Therefore it’s critical to clean them thoroughly.
Step 5: Find any vulnerabilities
It would help if you inspected your tools for any indications of damage once you’ve cleaned them. Ensure the tool is still useable and the materials will not hurt someone through regular usage or render the tool useless. Apart from searching for damage, you should also check for corrosion or rust. Any damaged tools should be put on hold until they can be repaired or replaced.
Step 6: For striking tools, use a powered grinder.
It is common for striking tool heads to stretch in the future and create ridges at the edge of metal as they are used. Potentially, this ridge will keep expanding and become thinner, eventually leading it to break apart. If the tool breaks, the metal head may separate from the rest of the tool, posing a threat to anyone in its immediate vicinity. Make regular use of your grinder to grind away any sharp edges that may form to avoid breakage.
Step 7: Apply Lubricant to the Tools
To keep your tools working smoothly, lubricate the tools that have adjustable components with an all-purpose oil like WD-40 after you’ve completed all of your cleanings and confirmed that your tools are damage-free. Additionally, gently spraying the tools with the oil can help keep them in good condition (if made of metal). But, ensure that no oil gets on the handles. Before putting away the tool, wipe it off with a towel to remove any excess oil. This lubricant may effectively protect your tools from rust and corrosion.
Additional Guides on Cleaning Power Tools
The cleaning procedures are as follows:
- Always use heavy-duty gloves while working with power tools, mainly when dealing with equipment that has sharp cutting edges.
- Keep in mind to always read the manufacturer’s guidelines and instructions for maintenance and cleaning and follow them correctly.
- Remove any power cables from the tool being cleaned and set them aside for safekeeping.
- If you have any power tools, such as a chainsaw or jigsaw, that you think may have a build-up of dust and grime in the crevices, use compressed air to spray to remove the dust in hard-reach-parts of the tools.
- If you need to clean many tools, use a sizable bucket, approximately two gallons or more, to contain a volume of water plus a specific amount of the commercial cleaner recommended in the instructions.
- It’s crucial to ensure that your cleaning cloth is properly wrung out and moist, not soaked or dripping, while cleaning the tools. Clean the tool’s surface with a damp cloth. Power cables and motor casings shouldn’t get wet or have water on them.
- Use an old towel to wipe and completely remove the moisture from your tools.
- Ensure to eliminate any dust or debris that may hinder the proper functioning of any switches or toggles. You can use an old toothbrush to clean them off.
- Use a dry cleaning cloth, clean off the power cord, and ensure no nicks, cuts, fraying, or other damage to the cable. Before using your power tool again, make sure the cable is in good condition.
- Make sure you thoroughly check any mechanical parts that are exposed to see if they have rust. For best results, thoroughly clean any corrosion with steel wool.
Cleaning Rusty and Corroded Hand Tools
Old rusted tools may be found at garage sales, vineyards, and abandoned houses; they can also be found in barns and out constructions; in disused toolboxes; in old vehicles; or at estate sales.
In most cases, you’ll discover that the wood handles are either rotten, broken or nowhere to be found. Restoring a bunch of ball-peen hammers and hatchets, we had to get rid of what was left of their handles. It will be done by cutting the handles flush with tool heads by using a handsaw, then clamping each head with a vise, and lastly using a hammer and punch to dislodge the last piece of the handle.
You will need to have more patience to complete this lofty work you have set to yourself by cleaning and restoring rusted hatchets, hammers, and the odd sledgehammer with an old, hickory wooden handle.
Helpful Top tips and Suggestions
- Under no circumstances should a power tool be submerged in water.
- Under no circumstances should you try to clean a power tool while plugged in or in use! You run the danger of suffering a severe injury such as being electrified!
- Avoid lubricating power tools unless the manufacturer explicitly recommends that you can do it.
- In order to make your future cleanup efforts more manageable, it is best to keep cleaning your instruments after every usage by removing any dirt, dust, and debris that has been collected on them.
- After cleaning your tools, always ensure that you allow them to dry completely. If you leave wet tools to sit for long periods of time, the metal will deteriorate and rust, making the tools inoperable.
Frequently Asked Questions:
Is Dawn a Good Degreaser?
Its grease-cutting power makes Dawn’s heavy-duty degreaser ideal for demanding tasks that need an effective degreaser. You may use Dawn to clean corrals and dumpsters, as well as heavy crankcase oil from concrete drive-through pads and walkways, according to the manufacturer.
How Do You Clean Your Tools With Vinegar?
The vinegar and salt solution is the most effective for dealing with rusted tools with extensive corrosion areas. Tools should be degreased, cleaned, and dried. Put the tool in a container that is big enough to accommodate the whole piece. For every liter of white vinegar, 1/4 cup of salt should be used. Rust removal takes a bit of time to dissolve with the vinegar and salt solution.
Is WD-40 Effective in Removing Rust?
According to the product’s instructions, WD-40 was created to break the connections between rust and metal by permeating the rust and using its lubricant to loosen it. Surface rust may be removed by spraying it on, leaving it to sit for about ten minutes, and then brushing it off.
Is It Possible to Remove Rust Using Vinegar and Baking Soda?
Household cleaners such as vinegar, baking soda, and salt are all great in their own forms. When combined, they create a very efficient DIY rust remover.
Where Can I Get the Most Effective Home-produced Rust Remover?
You may quickly get rid of rust by putting the metal tool in vinegar for a good few hours and then wiping it clean. For bigger tools, pour white vinegar over the whole surface and allow it to sit for a few hours.