
July 21, 2026
A semi-truck air compressor failure rarely begins with one dramatic bang. More often, the gauges rise slower, the dryer purges oddly, or the low-air warning stays on a little too long.
Can you keep rolling and “watch it”?
Should you replace the compressor immediately?
Those are expensive questions when the air system also controls braking.
This guide explains the warning signs, likely causes, diagnostic checks, replacement process, and preventive steps that help you avoid a roadside shutdown.
Key points
- How the semi-truck air compressor supports the braking system
- The most common truck air compressor failure symptoms
- Causes of slow pressure buildup, continuous cycling, oil carryover, and noise
- Tests that separate compressor damage from governor, dryer, and line problems
- When a cylinder-head repair may work and when full replacement makes more sense
- A practical semi-truck air compressor replacement checklist
- Post-installation tests and maintenance habits that protect the new unit
Here’s the thing: accurate diagnosis comes before parts ordering.
Why Air Compressor Failure Demands Immediate Attention
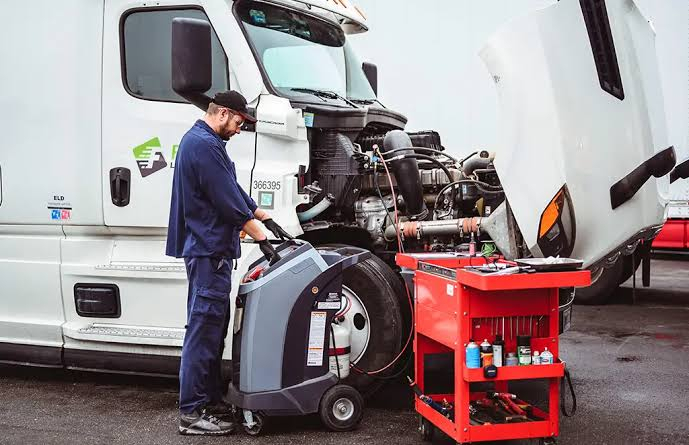
The engine-driven compressor supplies pressurized air for the service brakes and other pneumatic systems. A governor and unloader mechanism control when the compressor pumps and when it stops pumping after system pressure reaches the specified cut-out point.
If output falls behind air demand, reservoir pressure may recover too slowly after repeated brake applications.
When the low-air warning activates, pull over safely and treat it as a brake-system problem, not an inconvenience. FMCSA guidance warns that continued operation after a low-pressure warning can lead to automatic spring-brake application and an unsafe stop.
When pressure will not recover, a reliable Truck repair shop can help locate the actual fault before a compressor, governor, dryer, or discharge line is replaced unnecessarily.
Common Semi-Truck Air Compressor Failure Symptoms
A weak compressor and a leaking air system can feel almost identical from the driver’s seat. Record what the gauges, warning devices, and dryer are doing before shutting the truck down.
| Symptom | What it may indicate |
| Slow pressure buildup | Restricted line, air leak, dryer fault, governor issue, or worn compressor |
| Compressor cycles constantly | System leak, leaking unloader, governor leak, or purge-valve leak |
| Oil in tanks or dryer | Restricted intake, high duty cycle, oil-return issue, or internal wear |
| Knocking or grinding | Loose drive parts, bearing damage, crankshaft damage, or oil starvation |
| Coolant around compressor | Loose fitting, cracked port, head damage, or internal gasket leak |
One symptom is not a diagnosis. WABCO troubleshooting data links these complaints to several external faults as well as compressor damage, which is why pressure readings and leak checks matter.
What Causes a Truck Air Compressor to Fail?
Most compressor failures develop from heat, contamination, lubrication trouble, excessive duty cycle, or restrictions that force the unit to work harder than intended.
Carbon buildup in the discharge path can reduce airflow and raise operating stress.
A kinked intake line can starve the compressor, while a leaking brake or accessory circuit keeps it loaded for too much of the drive cycle.
Frequent causes include:
- Dirty or damaged engine air filters
- Blocked oil-return or oil-supply passages
- Restricted, carboned, frozen, or chafed discharge lines
- Air-system leaks that create excessive compressor duty cycle
- Faulty governor, unloader, or air-dryer purge valve
The good news? Several of these problems cost less to correct than a complete compressor replacement. The warning is equally important: installing a new compressor without fixing the root cause can shorten the replacement unit’s life.
Diagnose the Air System Before Ordering a Compressor
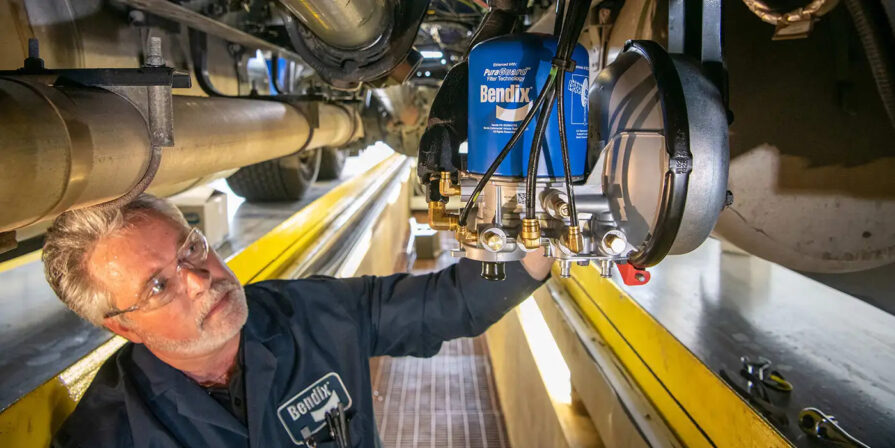
Start with the simple checks because they often reveal the real problem. Bendix specifically advises technicians investigating slow air buildup to inspect the discharge line between the compressor and dryer.
Carbon restriction or tiny holes can create a slow-build or no-build condition even when the compressor is healthy, and pinholes may leak only while the engine is running.
Use this order:
- Confirm the complaint with timed pressure-buildup readings.
- Inspect the compressor intake and discharge lines.
- Check the complete system for leaks with soapy water or an approved acoustic detector.
- Verify governor cut-in, cut-out, and unloader operation.
- Inspect the dryer purge valve and cartridge for restriction or contamination.
- Drain the supply tank and note the amount of water, oil, or sludge.
Do not condemn the compressor until these checks are complete.
Repair the Compressor or Replace the Complete Unit?
A repair is reasonable when testing identifies a serviceable top-end fault and the compressor’s lower assembly remains sound. Depending on the model, a leaking unloader, damaged valve, relief-valve problem, or cracked cylinder-head port may be corrected with a head assembly or approved repair kit.
WABCO’s System Saver 318 guidance, for example, allows cylinder-head replacement but directs technicians to replace the complete compressor when the crankcase is damaged or malfunctioning.
Important service principle: Replace the failed component only after confirming that air leaks, line restrictions, governor operation, lubrication, cooling, and dryer performance are within specification.
Choose full replacement when there is crankshaft damage, broken internal hardware, persistent oil leakage, severe noise, damaged mounting surfaces, or poor output after external causes have been eliminated. Remanufactured units can be practical, but match the exact engine and compressor application.
Semi-Truck Air Compressor Replacement Guide
Compressor replacement is a safety-critical job because the technician handles stored air pressure, engine coolant, oil connections, drive components, and heavy parts. The sequence and torque values vary by engine and compressor, so the vehicle and component manuals must control the work.
FMCSA also requires motor carriers to use properly qualified personnel for commercial brake inspection and service.
A typical workflow includes:
- Park level, set the parking brakes, chock the wheels, disconnect batteries, and fully drain system air.
- Drain coolant as required, then label and disconnect air, coolant, oil, and accessory connections.
- Remove the drive-mounted compressor and inspect the gear, coupling, lines, fittings, and mounting surface.
- Install the correct new gasket and replacement compressor.
- Reconnect lines using the OEM routing, sealing method, and torque specifications.
- Refill coolant, verify oil supply, start the engine, and inspect for leaks.
ZF’s service procedure follows this same general pattern.
Choose the Correct Replacement and Related Parts
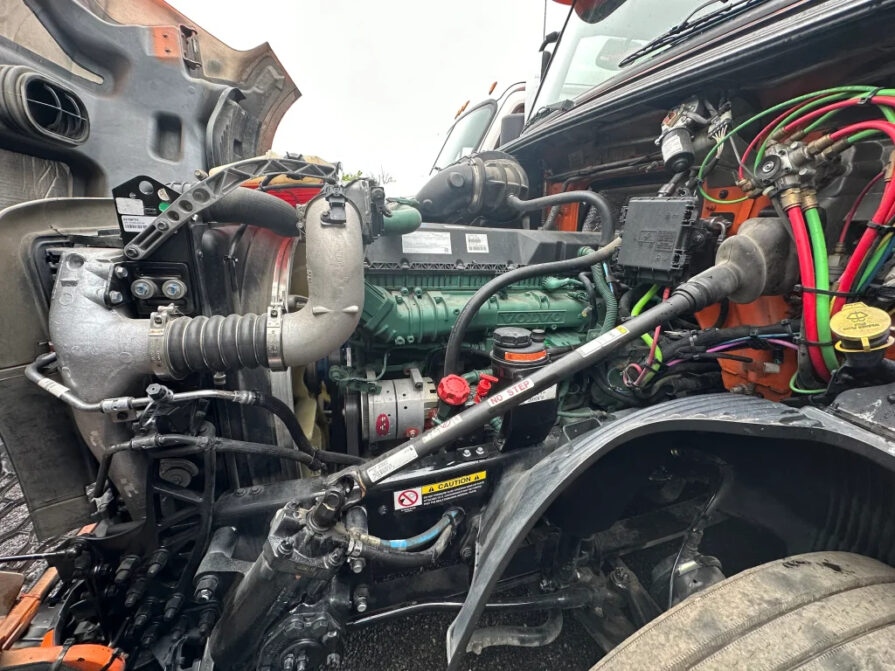
Ordering by appearance is risky. Two compressors may look similar while using different drive gears, flange positions, head configurations, mounting patterns, coolant ports, or displacement ratings.
Match the replacement through the truck VIN, engine serial number, original compressor number, and current manufacturer cross-reference. Also verify whether the unit is new, remanufactured, or supplied without fittings, governor, gasket, or drive hardware.
Before installation, check:
- Correct engine and vehicle application
- Drive gear, spline, coupling, and rotation
- Mounting flange and cylinder-head orientation
- Air, oil, and coolant port locations
- Included gaskets, seals, fittings, and warranty terms
Inspect the dryer at the same time. ZF guidance calls for replacing the desiccant cartridge when a compressor is replaced because the existing cartridge may be contaminated.
Test the New Compressor Before Returning to Service
Do not treat a successful engine start as proof of a successful repair. Build the system to governor cut-out, confirm that the compressor unloads, and check every disturbed connection for leaks. Then reduce reservoir pressure and confirm that the compressor loads again at the expected cut-in pressure. The truck’s OEM specifications are the final authority.
As a general dual-air-system benchmark, federal CDL guidance says pressure should rise from 85 to 100 psi within 45 seconds at operating rpm, although vehicles with larger reservoirs may have different manufacturer limits. The same guidance says not to drive when pressure cannot build fast enough.
Did you know? A dryer sits between the compressor and reservoirs to remove solid, liquid, and vapor contamination. Ignoring oil or moisture left by the failed unit can damage the dryer and downstream components.
Prevent Another Semi-Truck Air Compressor Failure
The replacement will last longer when the whole charging system is maintained, not just the new part. Follow the engine manufacturer’s oil, coolant, crankcase-ventilation, and air-filter intervals because many engine-driven compressors depend on those systems for lubrication, cooling, and inlet air. WABCO also recommends routine visual inspection for leakage, cracked flanges, and damaged inlet, discharge, water, or governor connections.
Add these habits to preventive maintenance:
- Track pressure-buildup time instead of relying on memory.
- Investigate frequent compressor cycling immediately.
- Drain tanks at the required interval and document oil or moisture.
- Inspect discharge lines for carbon, heat damage, chafing, and low spots.
- Service the air dryer according to its application and duty cycle.
One abnormal reading is useful. A trend across several inspections is even better because it shows deterioration before the truck reaches a no-build condition.
Frequently Asked Questions
Fix the Cause, Not Just the Compressor
Semi-truck air compressor failure is serious, but the repair does not have to begin with guesswork. Start with two manageable actions: record the pressure-buildup time and check the system for leaks or discharge-line restriction.
Those steps quickly separate a weak compressor from several common look-alike faults. If replacement is confirmed, match the unit by VIN and engine data, inspect the dryer and lines, and complete every post-installation pressure and leakage test.
A careful diagnosis costs less than replacing the wrong part, and a complete repair protects the brakes, the new compressor, and your next delivery.