June 13, 2021
Most minor household repairs and improvements do not require the service of experts. You can actually perform most of these works on your own. When doing such household tasks, however, you would sometimes find yourself drilling holes on metal objects. Drilling through metal objects is not an easy task to perform, and it requires patience and some knowledge on how to drill on metal.
Drilling on metal basically uses the same techniques as that of drilling on woods. In fact, in both cases, you would even use the same twist bits. However, when it comes to drilling certain abrasive and hard metals such as cast iron or stainless steel, you would basically need a cobalt steel or titanium-coated drill bit. Moreover, drilling through metals is not an ordinary task and has its own hazards.
To avoid any unwanted result, you will need to practice some safety measures such as that of donning protective gears while working. You should also engage in metal drilling only in secluded places where there are no children and other people. You should also learn about the properties of the metal on which you are going to work. You should also know the correct procedure for drilling on metal. To guide you, here are some short steps and guidelines on how to drill on metal:
Steps On How To Drill A Hole Through Metal
Step 1: Prepping Your Equipment
The variable-speed hand drill is sufficient for any household DIY drilling task. However, some hand drills have features that include a hammer function for drilling through concrete or masonry works. Hence, it is better to use this type of hand drills with such features. If you drilled on a piece of metal plate or pipe, you would need a vise or a couple of clamps to keep or hold the workpiece in place as you drill. The vise must be secured on top of your work platform or table.
You should also prepare your protective goggles and gloves before any drilling operation. Drilling through metal produces small bits of metal that fly towards different directions. These shards of metal can hit and damage your eyes. Hence, you should safeguard your eyes from this debris by wearing protective goggles during a drilling operation. Moreover, you should wear a pair of hand gloves to protect yourself from getting burned by exposed hot metal.
Step 2: Selecting the Proper Drill Bit
There are many bit types, and the most common is the twist bit and the black oxide bits. The twist bits are made from very strong materials such as high-speed steel (HSS). The inexpensive high-speed steel twist bit can bore through most metals like mild steel, brass, aluminum, galvanized iron sheets or pipes. However, when you are drilling a large number of holes on hard metals, you should use cobalt steel or titanium nitride drill bits. You can bore more holes with these twist bits before they become dull as these bits can resist heat and friction better. The titanium nitride (TiN) bits are actually high-speed steel twist with titanium nitride coating. These TiN-coated bits are known to withstand friction and heat far better than any type of twist bits and can last up to six times than that of an HSS bit.
To determine the proper bit to use, it is important to identify the type of your metal workpiece. For example, mild steel and aluminum are the most common metals found in most households as furnishings, window frames, doors, etc. When drilling holes on these metals, you would find the HSS twist bit sufficient enough to do the task. Additionally, drill bits come in a variety of sizes in both metric and English system. Choose the correct drill bit size for your desired hole and secure the bit shank tightly to the drill chuck.
Step 3: Marking the Hole Placement Or Dimple
Before drilling on your workpiece, you should figure out the exact positions where the holes will be located and mark them with a crosshair; then, make a dimple on the center of the mark using a center punch tool and a hammer. In this way, you will prevent the drill bit from wandering off during your initial drilling phase.
Step 4: Safety Measures (Clamps To Prevent Stitches)
Safety First! This is the golden rule you must remember whenever work on the metalworking tasks. Before commencing any metal drilling task, you should first secure the workpiece, with clamps or vise, to your work table or platform. It is not advisable to hold the workpiece by hand as the force of the drill’s rotation can be very sudden and may cause the workpiece to spin or fling out of your hold and may eventually cause you injury or damage to your hand drill. You should, therefore, pay close attention to your work when the drilling starts. In this way, you can prevent unwanted results from happening.
Moreover, you should wear safety goggles and leather gloves before you start drilling to protect you from small pieces of flying metal debris. Furthermore, you should have a fire extinguisher at hand in case the fire breaks out. The metal workpiece, as well as the drill bit, becomes extremely hot due to friction when drilling metal. Lastly, you should wipe the excess lubricant on your workpiece and work table every time you finish drilling a hole.
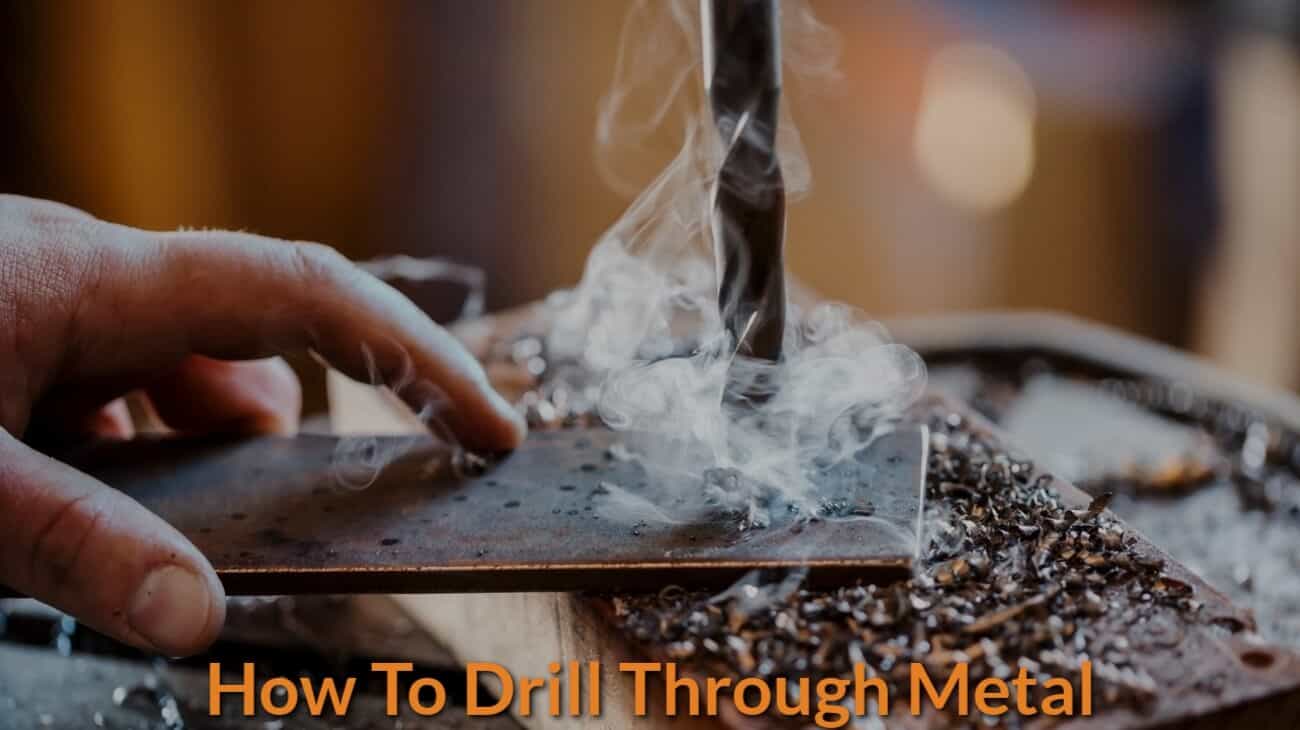
Step 5: Start Drilling
After securing the workpiece to the work platform and donning the necessary protective gears, you should be ready to start drilling. Position the tip of the drill bit on the dimple or mark that you’ve made using the center punch tool. Make sure that your drill is perpendicular to the workpiece. Start drilling at low speed. You can gradually add speed to the bit’s rotation soon after the bit has made a gouge on the workpiece.
Step 6: Lubricate Drill Bit
Lubricate the bit and the workpiece with multipurpose oil or cutting fluid. Any inexpensive and clean motor oil is adequate as long as it dissipates the friction or heat that is concomitant with drilling, especially, when drilling through thick steel or hard metals such as stainless steel. If you are drilling, for example, through a ¼ inch (6.35 mm) thick mild steel, you will take much time to perforate through the metal, and thus, you would need to apply a thick squirt of oil to the bit and workpiece to prevent overheating. Other softer metals like aluminum, brass, or copper don’t require lubrication for they can be perforated easily.
Step 7: Grasp Your Hand Drill Tightly
Grasp your hand drill tightly before depressing the trigger of the hand drill. Moreover, you must ensure that you are on top of the situation all the time. You should focus! Hold the drill with both your hands to ensure the drill’s stability. Ease the trigger every time you squirt oil to the workpiece to prevent the drill from twisting.
Step 8: Finishing and Deburr the Hole
After drilling through metals, you would normally find some sharp raised edges or burrs on the reverse side of the hole. These burrs can be easily removed by employing special deburring tools. However, before investing in such expensive tools, you can try removing these burrs via more straightforward means. You can simply find a larger twist bit and place its tip on the hole and twist the bit manually until the burr or sharp edges are removed.
You can also use the hand drill to twist the larger bit; however, hand twisting can also produce the same clean results. You can likewise use other tools like a pair of pliers to clean the hole. Lastly, pliers are easier to hold and twist than the twist bit and can produce a similar outcome.